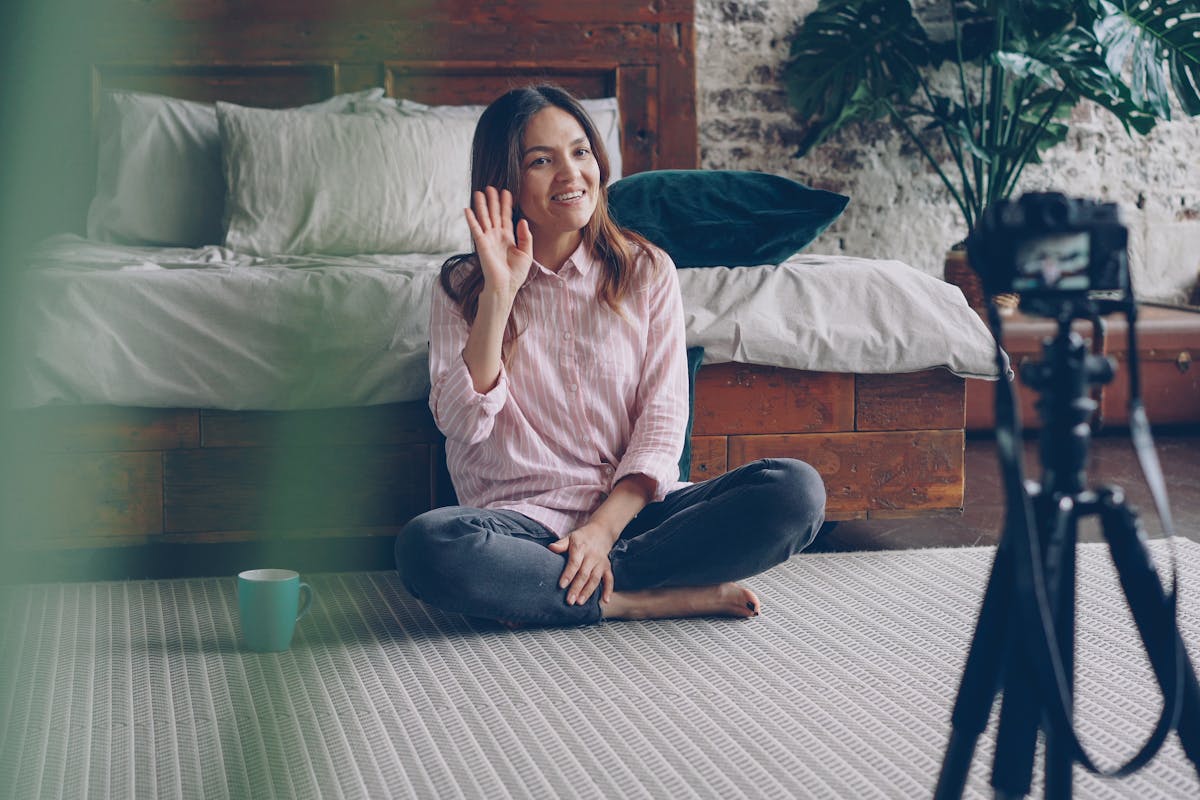
You do not need a camera, a studio, or a photographer to get clean, professional photos at home. An iPhone and a ring light, set up correctly, will carry you a long way. The difference between amateur and polished is almost never the gear. It is positioning, light, and a few camera settings most people never touch.
What gear do you actually need?
The short list is small on purpose:
- An iPhone. Any reasonably recent model has a camera that is more than good enough.
- A ring light, ideally 18 inches, on an adjustable stand. The ring shape wraps soft light around your face and is very flattering. A 10 to 12 inch light is fine for close-ups; an 18 inch covers both close-up and full-body.
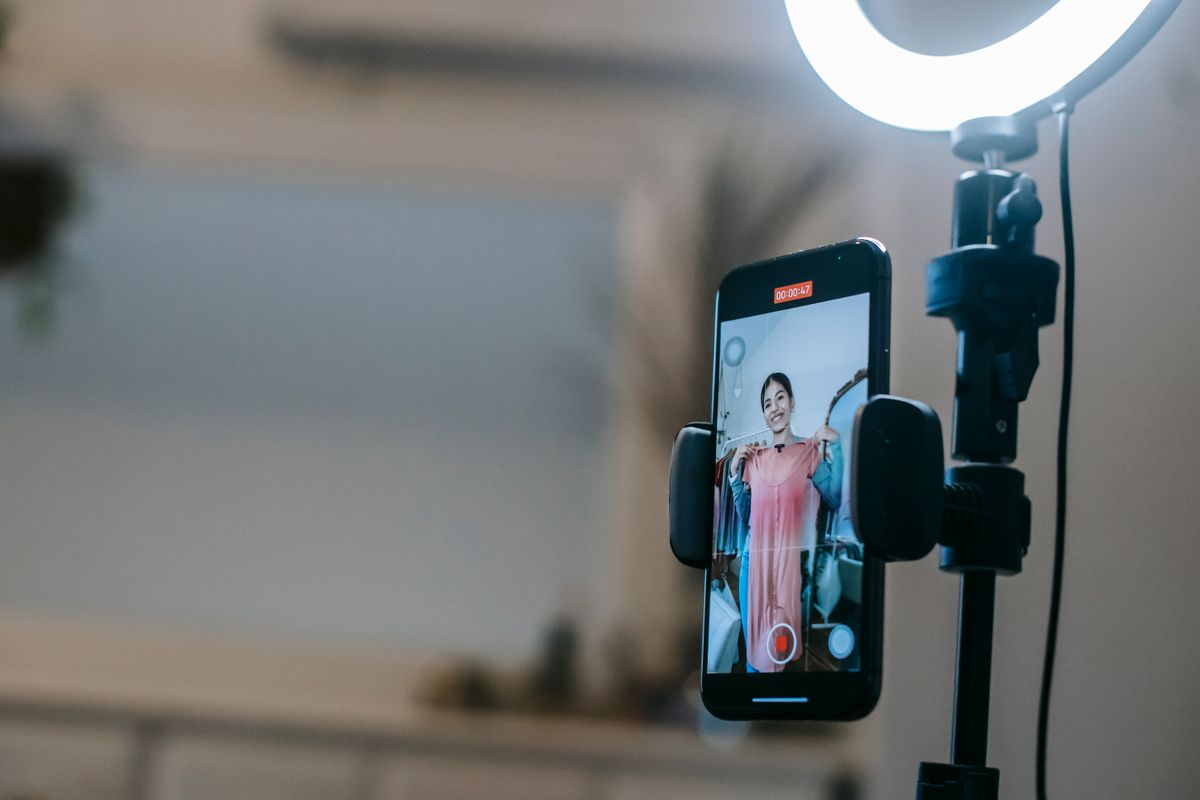
- A phone mount, so your iPhone sits in the center of the ring.
- A Bluetooth remote (often included) so you can trigger the shutter hands-free.
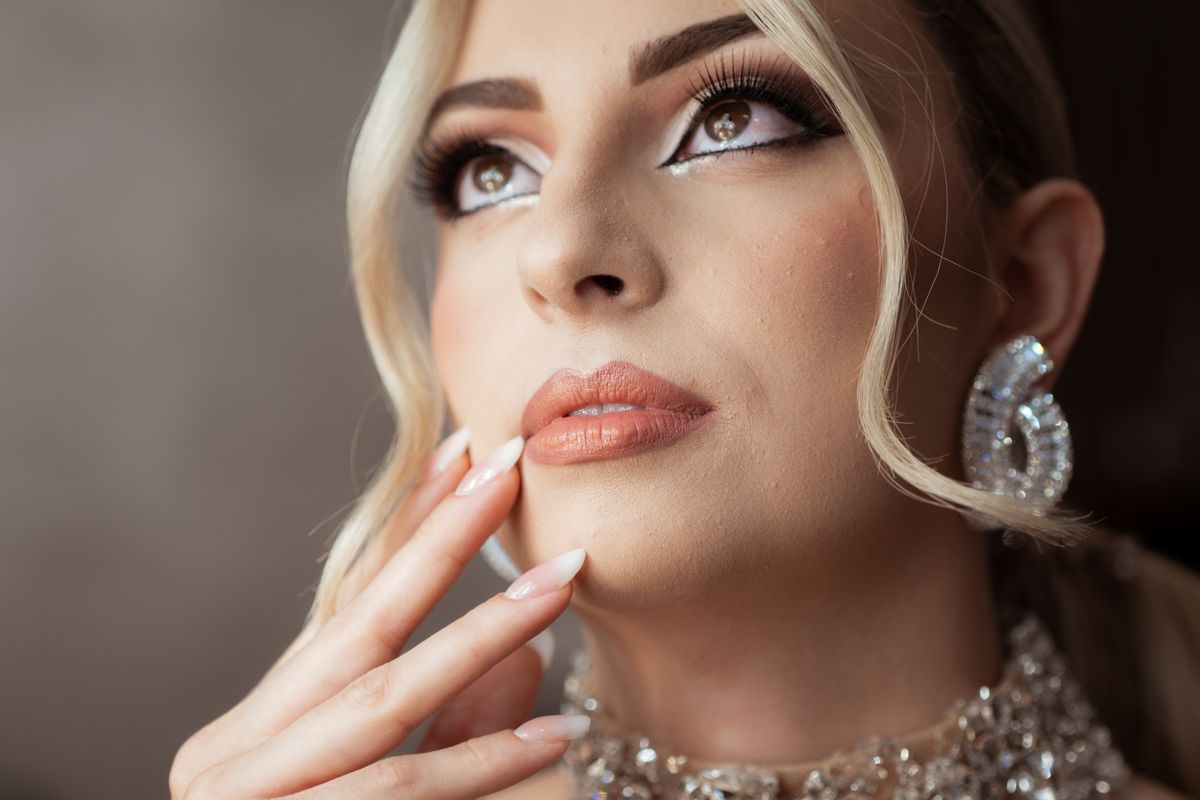
One quality detail worth caring about: a ring light with a high CRI (color rendering index) of 95 or above will render your skin tones accurately. Cheap, low-CRI lights can make footage look flat and washed out.
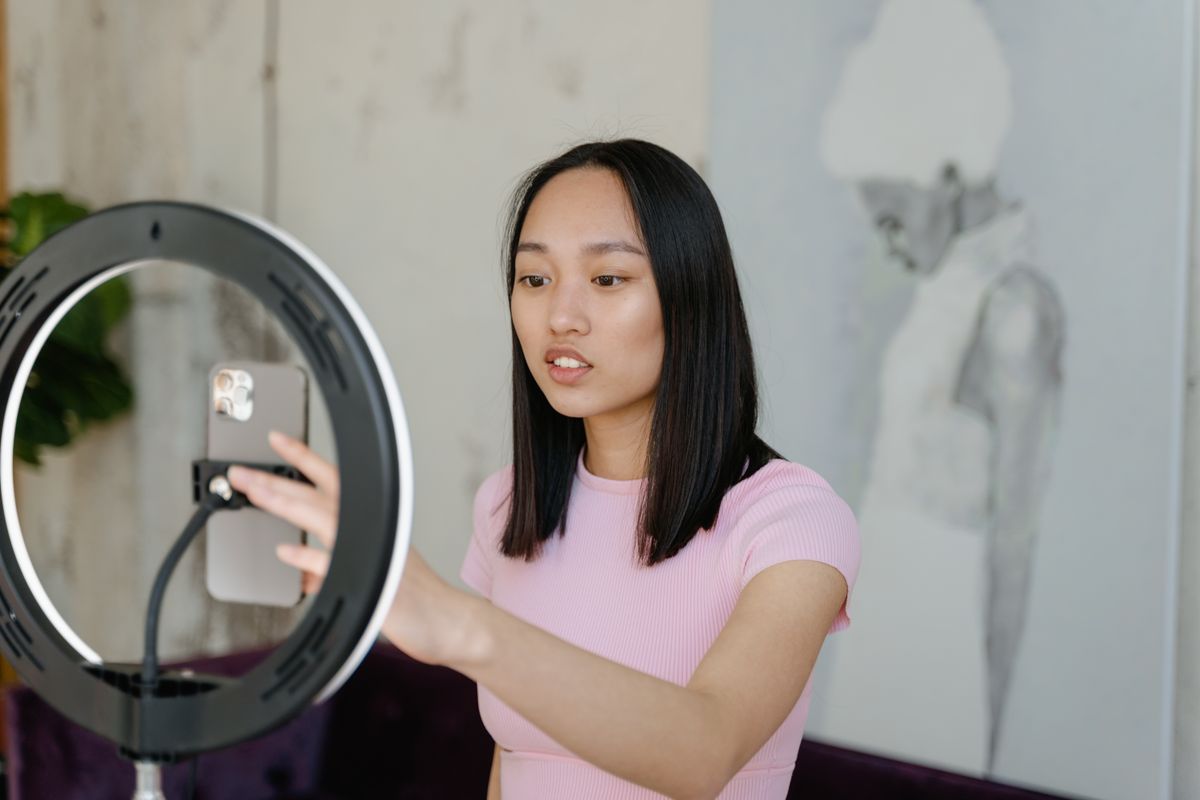
How should you position the ring light?
Placement does most of the work.
- Eye level, facing you, tilted slightly downward. This removes shadows under the eyes and chin and is the most flattering angle.
- Phone in the center of the ring, so the light source is aligned with the lens and your eyes get that bright, clean catchlight.
- About arm's length away. Too close blows out your features; too far and the light stops doing its job.
- Watch reflections. If you wear glasses or shoot near a mirror or window, angle slightly to kill the ring reflection.
What brightness and color temperature should you use?
Most ring lights let you adjust both, and both matter.
- Brightness: enough to light your face evenly without blowing out highlights. In a bright room you will need less than you think.
- Color temperature: aim for a neutral, natural white. Skip the very warm orange and very cold blue unless you are going for a specific look.
- Blend with the room. Position near a window and match the ring light to the daylight so the tones do not clash. Natural light plus a ring light is a beautiful combination.
- Want more dimension? A second light behind or to the side adds depth and separates you from the background. Optional, but a nice upgrade.
What iPhone camera settings actually matter?
You do not need a third-party app. The built-in Camera has everything that counts.
- Turn on the grid. Go to Settings, then Camera, then turn on Grid. The lines help you keep shots straight and compose with the rule of thirds.
- Set focus and exposure manually. Tap the screen where you want the focus, then drag up or down to brighten or darken the shot.
- Lock it with AE/AF Lock. Touch and hold the focus point until you see AE/AF Lock at the top. This keeps focus and exposure steady between shots so your lighting stays consistent.
- Use Portrait mode for headshots. It blurs the background and makes a single subject pop. Switch back to standard Photo for full-body or detail shots where you want everything sharp.
How do you get sharp, consistent shots?
A few habits separate clean photos from blurry ones.
- Keep the phone steady. Use the mount or a tripod. Handheld shots at close range pick up shake.
- Shoot hands-free. Use the iPhone timer (tap the timer icon, choose 3 or 10 seconds) or a remote shutter so pressing the button does not nudge the phone or break your pose.
- Clean the lens. A quick wipe with a soft cloth removes the smudges that quietly soften every shot.
- Get closer instead of zooming. Digital zoom degrades quality. Move the phone or yourself rather than pinching to zoom.
- Take a lot of frames. Shoot far more than you need, then pick the best few. Professionals do exactly this.
Repeatability is the secret to a feed that looks cohesive: once you find a setup you like, write down the height, distance, and settings so you can recreate it every time.
What are the most common mistakes?
- Overexposure. Too much light washes you out. Lower the brightness and pull the exposure down.
- Wrong height. Too high or too low creates unflattering shadows. Eye level wins.
- Cluttered background. Tidy your set; the background is part of the shot.
- Glasses and mirror glare. Angle slightly to lose the ring reflection.
- Relying only on the ring light. In some shots a little window light or a second source looks far better.
The bottom line
A ring light at eye level, your phone mounted in the center, the grid on, focus and exposure locked, and a remote shutter in hand will get you most of the way to professional photos at home. The gear is the easy part. The real skill is repeating a setup you like, which is exactly what gives a creator's content a consistent, premium look over time. It is the kind of detail the creators TopStar MGMT works with dial in early, because polished content makes every other part of the funnel convert better.